
Gabion baskets offer one of the most versatile and attractive solutions for landscaping, erosion control, and structural support. These wire mesh containers, when properly filled with stone, create durable structures that blend seamlessly with natural surroundings while providing exceptional functionality.
Learning how to install gabion baskets correctly is essential for creating long-lasting, professional-looking results. This comprehensive guide covers everything from initial planning to final touches, ensuring your gabion project succeeds whether you're a DIY enthusiast or a landscaping professional.
Define the purpose (retaining wall, decorative feature, seating)
Determine height, length, and configuration
Calculate materials needed
Check local building codes and requirements
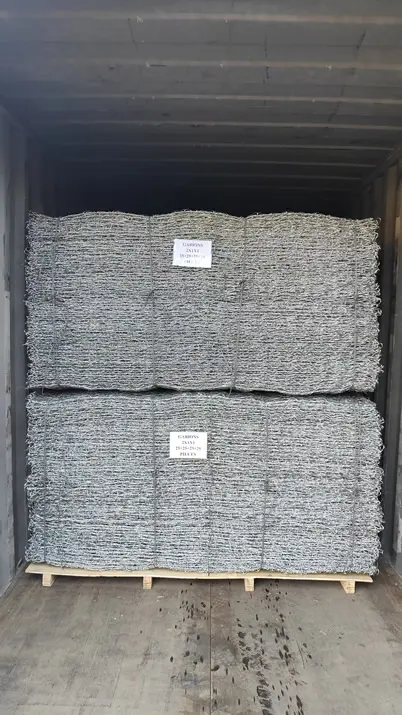
Baskets: Choose between galvanized, PVC-coated, or stainless steel
Stone: Select appropriate size and type (4-8 inch angular stone recommended)
Foundation: Crushed stone or gravel for base
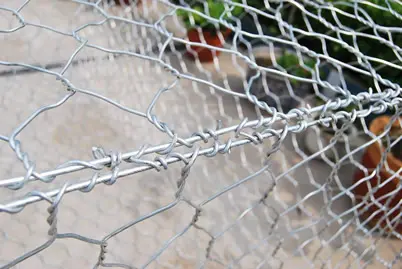
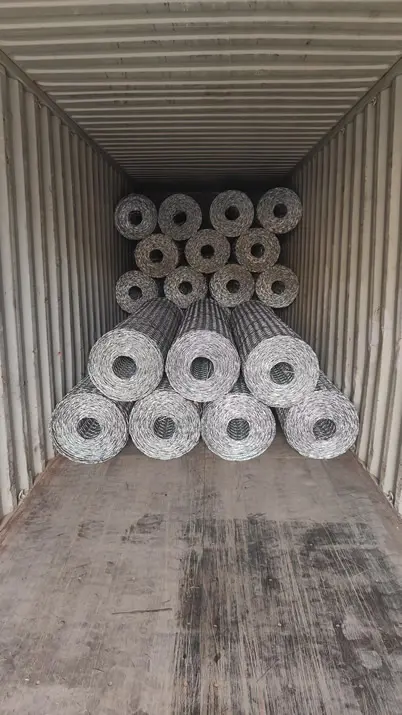
Fasteners: Spiral binders or lacing wire
Tools Checklist:
Shovel and digging tools
4-foot spirit level
Tape measure
Rubber mallet
Pliers and wire cutters
Work gloves and safety glasses
Plate compactor (for large projects)
Stakes and string
Materials List:
Gabion baskets
Stone fill (calculate 10-15% extra)
Geotextile fabric
Base material (crushed stone)
Fastening components
Clear vegetation and debris from area
Mark layout with stakes and string
Excavate to required depth (typically 4-6 inches)
Ensure proper drainage grading
Add 4-inch layer of compactible base material
Compact thoroughly with plate compactor
Check level in all directions
Establish final grade and slope
Position baskets on prepared base
Connect panels using spiral binders
Ensure square corners and proper alignment
Verify all connections are secure
Face Stone Placement: Hand-place attractive stones against visible sides
Core Filling: Use smaller stone for interior sections
Layer Compaction: Fill in 12-inch layers, compacting after each
Maintain Even Distribution: Avoid overfilling or bulging
Ensure complete filling to top
Pull lids tight before fastening
Use all provided fasteners
Double-check all connections
Stone Selection: Choose angular stone for better interlocking
Filling Strategy: Work on multiple baskets simultaneously
Compaction Methods: Use mechanical tamper for large projects
Drainage Considerations: Incorporate weep holes if needed
Aesthetic Detailing: Match stone patterns across baskets
❌ Insufficient Base Preparation: Leads to settling issues
❌ Improper Stone Size: Causes bulging or stability problems
❌ Inadequate Compaction: Results in excessive settling
❌ Poor Fastening: Compromises structural integrity
❌ Ignoring Drainage: Creates water pressure problems
Gabion structures require minimal maintenance:
Annual inspection of wires and fasteners
Vegetation management if desired
Drainage maintenance
Stone replenishment if necessary
Properly installed gabion baskets can last 50+ years with minimal upkeep, making them an excellent long-term landscaping solution.
Problem: Baskets bulging
Solution: Redistribute stone, add internal supports
Problem: Settlement occurring
Solution: Add additional stone, compact thoroughly
Problem: Water pooling
Solution: Improve drainage, add weep holes
Mastering how to install gabion baskets opens up numerous possibilities for enhancing your landscape with durable, attractive features. By following these professional installation techniques and paying attention to detail during each step, you can create gabion structures that provide both functional benefits and visual appeal.
Remember that success lies in proper planning, quality materials, and careful execution. Whether you're building a small garden wall or a large retaining structure, these guidelines will help you achieve professional results that stand the test of time.

ANPING YUELIAN WIRE MESH CO.,LTD.
+86 13363336085
yxgabion@163.com
NO.5 WEIYI ROAD,ANPING HIGH-TECH INDUSTRIAL DEVELOPMENT ZONE,ANPING,HENGSHUI,HEBEI,CHINA
For inquiries about our products or pricelist, please leave your email to us and we will be in touch within 24 hours.
INQUIRY NOW